
Creamsicle Whipped Cream 🍊
A light, fluffy twist on a classic favorite. Infused with the bright, citrusy flavor of fresh oranges, this creamy delight is perfect for topping desserts, beverages, and breakfast treats, adding a refreshing burst of flavor to every bite.
Whip-It! Equipment:
Ingredients:
- 1 cup Whip-It! Heavy Whipping Cream (cold)
- 2 Tbsp powdered sugar
- 1 tsp vanilla extract
- 1–2 tsp orange extract or 2 tsp orange zest + 1 Tbsp orange juice
- Optional: pinch of turmeric for natural tint & mint to garnish
Instructions:
- Chill mixing bowl and whisk for 10 min.
- Add cream, sugar, vanilla and orange flavor.
- Whip with chilled whisk until it forms soft peaks.
- Serve over desserts or fruit.
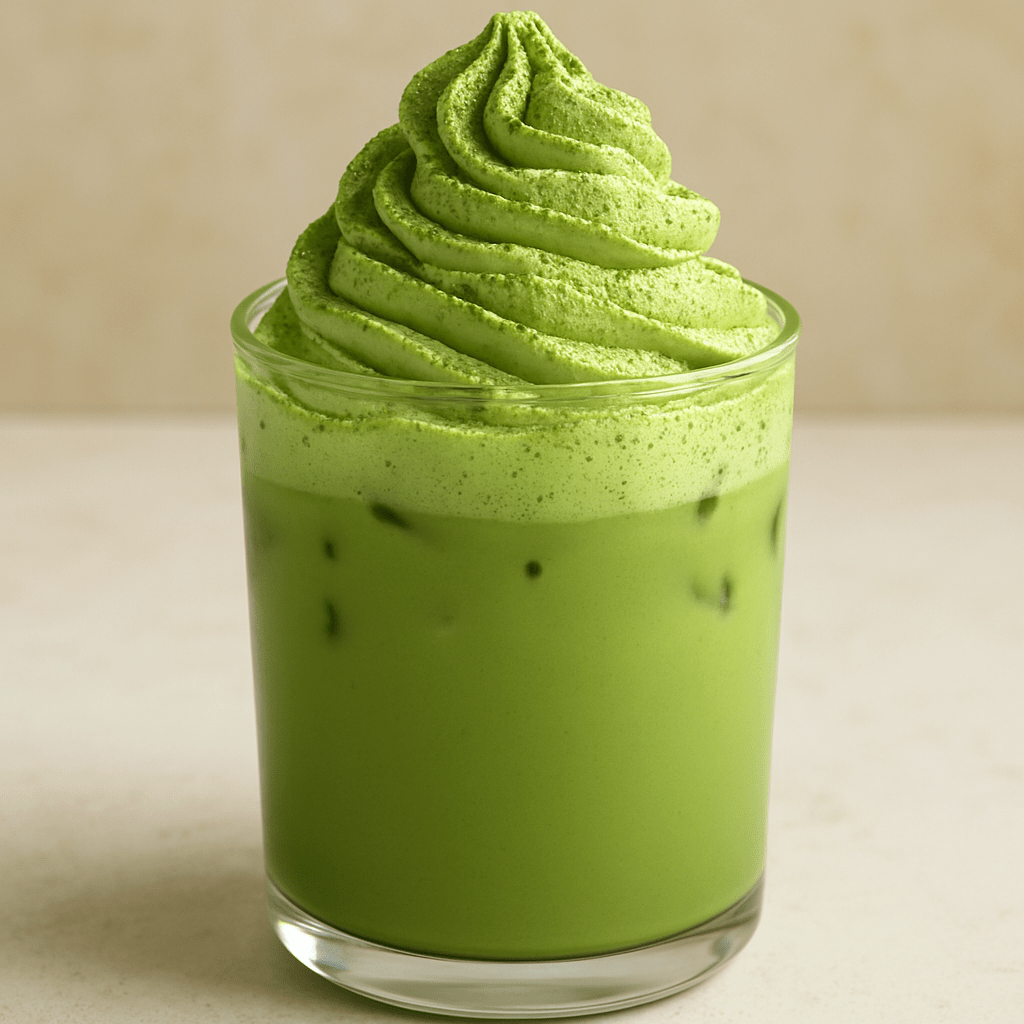
Matcha Cream Topping
Matcha fans, get ready! Elevate your favorite desserts and drinks with this smooth, green tea-infused Matcha Cream made using Whip-It! cream chargers. It’s the perfect topping for lattes, pancakes, cakes, and parfaits. Ready to whip it up? Let’s dive in!
Whip-It! Equipment:
- Whip-It! Shelf Stable Whipping Cream
- Whip-It! 1/2 liter Cream Dispenser
- Whip-It! Original N2O Charger
Ingredients:
- 1 cup Whip-It! whipping cream (cold)
- 2 teaspoons matcha powder (adjust to taste)
- 2 tablespoons powdered sugar
- 1 teaspoon vanilla extract (optional)
Instructions:
- Prepare the Matcha Mixture:
- In a small bowl, sift the matcha powder to remove any lumps. Add a few teaspoons of heavy cream and whisk until the matcha forms a smooth paste. This ensures the powder blends evenly into the cream.
- Combine the Ingredients:
- In a separate mixing bowl, combine the remaining heavy cream, powdered sugar, and vanilla extract (if using). Stir in the matcha paste and mix until fully combined.
- Prepare the Dispenser:
- Pour the matcha cream mixture into your whipped cream dispenser. Make sure not to exceed the maximum fill line to allow proper aeration.
- Charge the Cream:
- Screw on the top of the dispenser tightly.
- Insert an N2O charger into the charger holder.
- Screw the charger holder onto the dispenser until you hear the gas release.
- Dispense the Matcha Cream:
- Shake the dispenser 10-15 times and gently press the lever to release the creamy matcha goodness. Use it to top beverages like lattes, iced teas, or desserts like waffles, pancakes or cakes.
Tips for the Best Matcha Cream:
- Chill the Cream and Dispenser: Cold cream whips better, producing a more stable texture. Place your dispenser and cream in the fridge for an hour before use.
- Adjust Sweetness: Add more or less powdered sugar based on your preference.
- High-Quality Matcha: Use culinary-grade matcha for the best flavour and vibrant green colour.

Frozen Whipping Cream Hearts
This Valentine’s Day, let your drinks and your heart be extra sweet with homemade Frozen Whipped Cream Hearts! These adorable, creamy hearts are the perfect way to elevate your coffee, hot chocolate, or desserts — and they’re super easy to make using Whip-It! products.
Whip-It! Equipment:
- Whip-It! Whipping Cream Bundle
- Whip-It! Shelf Stable Whipping Cream (32 oz)
- Whip-It! Limited Edition Dispenser (1/2 liter)
- Whip-It! Original N2O Chargers (10 pk)
Ingredients:
- 1-2 tbsp powdered sugar (adjust to taste)
- 1 tsp vanilla extract
- Heart-shaped silicone molds
- Sprinkles
Instructions:
- Prepare the Dispenser:
- Pour the Whip-It! Shelf Stable Whipping Cream into the Whip-It! Limited Edition Dispenser, filling it up to the fill line.
- Sweeten:
- Add powdered sugar and vanilla extract for added sweetness and flavor.
- Charge the Cream:
- Screw on the top of the dispenser tightly.
- Insert a Whip-It! Cream Charger into the charger holder.
- Screw the charger holder onto the dispenser until you hear the gas release.
- Fill the Molds:
- Carefully dispense the whipped cream into heart-shaped silicone molds. Smooth the whipped cream down evenly.
- For an extra festive touch, add a sprinkle of edible glitter or chocolate shavings to your whipped cream hearts before freezing!
- Freeze:
- Place the molds in the freezer for 2-3 hours or overnight until the whipped cream hearts are frozen solid.
- Serve:
- Once frozen, pop the whipped cream hearts out of the molds, and they’re ready to top your warm drinks or desserts!
Whether you’re sipping on a hot cup of coffee, hot chocolate, or even a cozy dessert, these frozen whipped cream hearts are the perfect finishing touch for a Valentine’s Day filled with love! ♥️
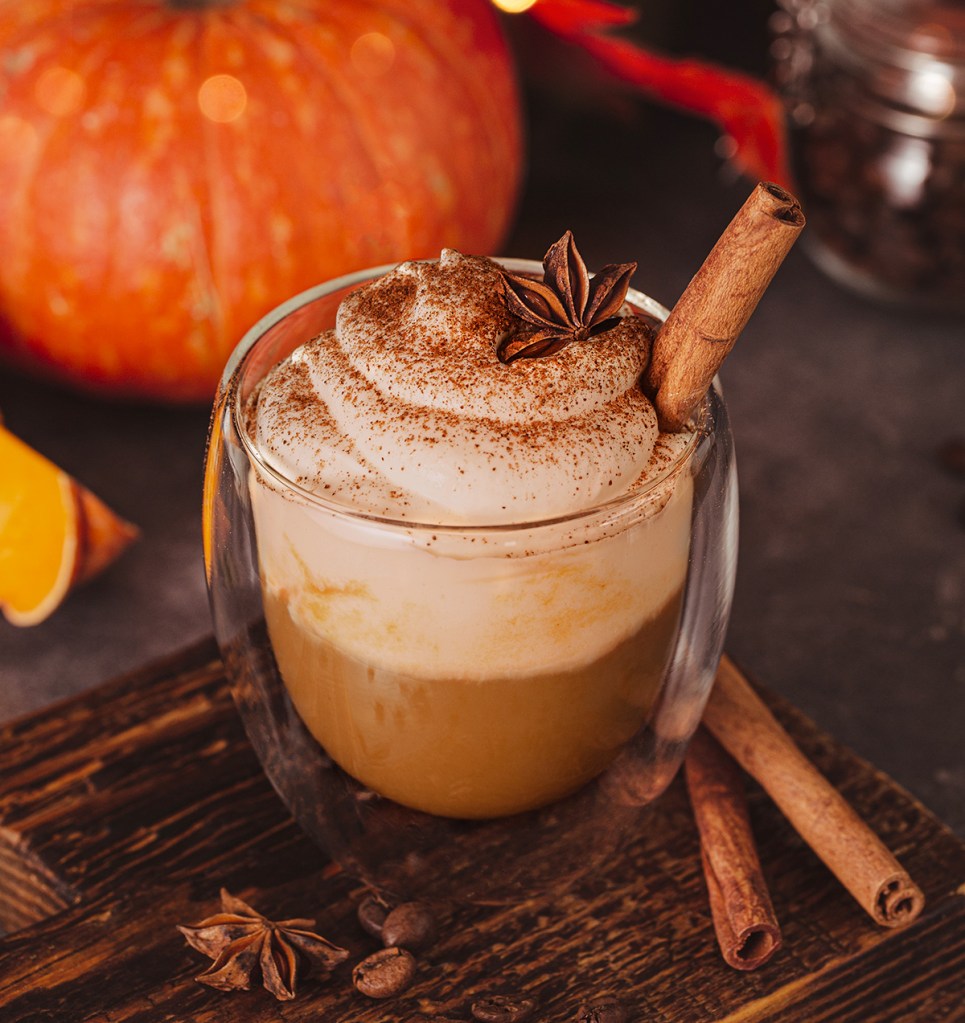
Pumpkin Spice Whipped Cream
This recipe creates a delightful, spiced whipped cream that embodies the flavors of fall, making it perfect for any Pumpkin Spice Day celebration.
Whip-It! Equipment:
Ingredients:
- 1 cup heavy whipping cream
- 2 tablespoons pumpkin puree
- 2 tablespoons powdered sugar
- 1/2 teaspoon ground cinnamon
- 1/4 teaspoon ground nutmeg
- 1/4 teaspoon ground ginger
- 1/8 teaspoon ground cloves
- 1/2 teaspoon vanilla extract
Instructions:
- Prepare the Mixture:
- In a mixing bowl, combine the heavy cream, pumpkin puree, powdered sugar, cinnamon, nutmeg, ginger, cloves, and vanilla extract.
- Whisk the mixture until it is smooth and the ingredients are well incorporated.
- Before you begin, ensure that the heavy whipping cream is well chilled. Place the Whip-It! Cream Dispenser in the refrigerator for at least 2 hours before use.
- Fill the Dispenser:
- Carefully pour the pumpkin spice cream mixture into the Whip-It! Cream Dispenser.
- Assemble & Charge:
- Screw on the top of the dispenser tightly.
- Insert a Whip-It! Cream Charger into the charger holder.
- Screw the charger holder onto the dispenser until you hear the gas release.
- Shake & Dispense:
- Shake the dispenser vigorously for about 20-30 seconds to ensure the gas mixes thoroughly with the cream.
- Hold the dispenser upside down and press the lever gently to dispense the pumpkin spice whipped cream.
- Serve & Enjoy:
- Top your coffee, hot chocolate, pies, pancakes, or any other treat with the pumpkin spice whipped cream.
- Enjoy the rich, creamy, and festive flavors of the season!

Whipped Cream
Indulge in the light and airy goodness of freshly whipped cream made using the Whip-It! Specialist dispenser, adding a delightful finishing touch to your favorite treats and desserts!
Whip-It! Equipment:
Ingredients:
- 1 cup Whip-It! Whipping Cream
- 2 tablespoons powdered sugar (adjust to taste)
- 1 teaspoon vanilla extract (optional)
Instructions:
- Chill the Ingredients:
- Before you begin, ensure that the whipping cream is well chilled. Place the Whip-It! Cream Dispenser in the refrigerator for at least 2 hours before use.
- Prepare the Dispenser:
- Remove the head assembly from the Whip-It! Cream Dispenser by unscrewing it. Place the nozzle and O-ring to the side.
- Pour the chilled heavy whipping cream into the dispenser, ensuring not to fill it beyond the maximum fill line indicated on the dispenser.
- Add powdered sugar and vanilla extract (if using) to the cream in the dispenser.
- Assemble & Charge:
- Attach the O-ring and nozzle onto the dispenser head.
- Screw the head back onto the dispenser until it is snugly attached.
- Insert a Whip-It! Cream Charger into the charger holder, ensuring it is pierced properly.
- Screw the charger holder onto the head assembly until you hear a hissing sound, indicating that the charger has been punctured and the gas is released into the dispenser.
- Shake & Dispense:
- Shake the dispenser vigorously for about 5-10 seconds to combine the ingredients and distribute the gas evenly.
- Hold the dispenser vertically with the nozzle pointing downwards.
- Press the lever to dispense the whipped cream. Adjust the amount of pressure applied to control the thickness of the cream.
- Serve & Enjoy:
- Dispense the whipped cream onto desserts, beverages or any other dish of your choice!
- Store any leftover whipped cream in the refrigerator for up to 5 days.
- Clean the dispenser according to the Product Instructions after each use to maintain its performance.

Vanilla Cold Foam
When added to coffee, cold foam creates a smooth, velvety layer that adds a subtle sweetness and creamy texture, enhancing the overall coffee experience.
Whip-It! Equipment:
Ingredients:
- 3/4 cup (180ml) whole milk
- 1 cup (240ml) Whip-It! Whipping Cream (chilled)
- 2 tablespoons vanilla syrup
Instructions:
- Prepare the Ingredients:
- Pour the cold heavy cream and milk into a mixing cup.
- Add the vanilla syrup. Stir gently to combine.
- Load the Cream Dispenser:
- Pour the sweetened vanilla cream mixture into the cream dispenser.
- Secure the lid tightly on the dispenser.
- Charge the Dispenser:
- Insert the N2O cream charger into the dispenser’s charger holder and tighten until you hear a hissing sound inside the dispenser.
- Shake the dispenser vigorously for about 12 seconds.
- Dispense the Foam & Enjoy:
- Hold the dispenser upside down and gently press the lever to dispense the vanilla cold foam over your favorite beverage.
- The foam should be light, airy, and perfect for topping coffee, cold brew, or iced beverages.
Tips:
- For best results, chill your cream dispenser in the refrigerator for a few hours prior to use.
- For a thicker foam, you can add heavier cream or adjust the amount of syrup to suit your taste.
- Clean the dispenser according to the Product Instructions after each use to maintain its performance.
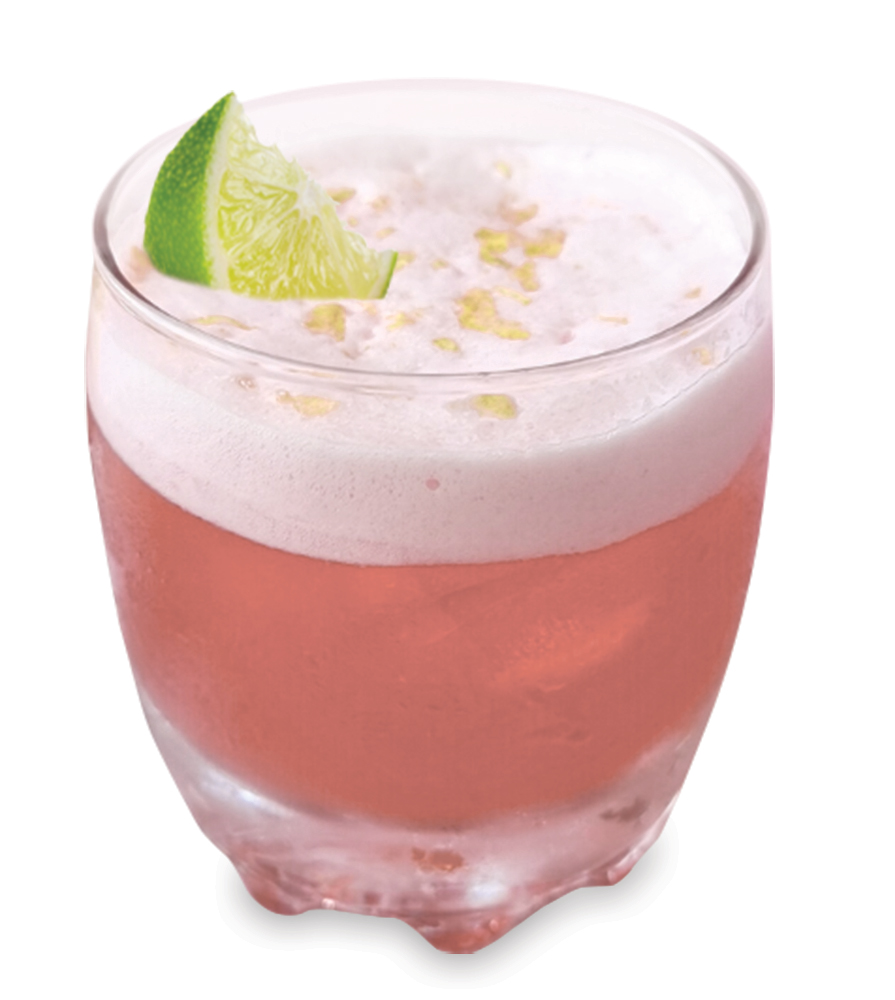
Lavender Cold Foam
Ideal for elevating your favorite beverage, this velvety foam not only enhances the flavor, but also adds a visually stunning layer of sophistication to your drink. With each sip, experience a moment of calm and luxury, as the soothing aroma of lavender intertwines with the cool, refreshing sensation of your libation.
Whip-It! Equipment:
Ingredients:
- 10 oz. Torani Lavender Syrup
- 2 oz. pasteurized egg whites
Instructions:
- Chill the Ingredients:
- Before you begin, ensure that the egg whites are well chilled. Place the Whip-It! Cream Dispenser in the refrigerator for at least 2 hours before use, or for quick chilling – fill dispenser with ice & water for a few minutes & then pour out before filling with ingredients.
- Prepare the Dispenser:
- Remove the head assembly from the Whip-It! Cream Dispenser by unscrewing it. Place the nozzle and O-ring to the side.
- Pour the egg whites & lavender syrup into the dispenser.
- Assemble & Charge:
- Re-insert the O-ring and attach desired decorator tip onto the dispenser head.
- Screw the head back onto the dispenser until it is snugly attached.
- Insert a Whip-It! Cream Charger into the charger holder, ensuring it is pierced properly.
- Screw the charger holder onto the head assembly until you hear a hissing sound, indicating that the charger has been punctured and the gas is released into the dispenser and repeat with second charger.
- Shake & Dispense:
- Shake the dispenser vigorously for about 15 seconds to combine the ingredients and distribute the gas evenly.
- Hold the dispenser vertically with the nozzle pointing downwards.
- Press the lever to dispense the cold foam. Adjust the amount of pressure applied to control the thickness of the foam.
- Serve & Enjoy:
- Dispense cold foam onto your favorite cold brew, cocktail or beverage of choice.
- Store dispenser in the refrigerator for up to 5 days.
- Clean the dispenser according to the Product Instructions after each use to maintain its performance.

Cold Brew Concentrate
- 2 cups coffee beans, coarse ground
- 4 cups cold filtered water
- Place the ground coffee in a glass pitcher or mason jar. Pour in cold water and stir to combine. Cover and let the grounds steep at room temperature for 12-16 hrs.
- Strain cold brew through a cheesecloth or coffee filter-lined strainer. Transfer into a air-tight glass container. Will keep in refrigerator for about 1 week.
- To use, dilute 1 part concentrate to 1 part cold water or ice.

Coconut Rum Nitro Coffee
By: Mimi Young
- 1.5 cups cold brew concentrate
- 2 cups cold coconut water
- 2 tbsp spiced or coconut rum
- 1 tbsp coconut sugar syrup (see recipe below)
- 1 ea Whip-It! Nitro Coffee Charger
- Ice
- Pour the cold brew concentrate, coconut water, rum, and syrup into a 1 ltr Whip-It! Nitro Brew Dispenser.
- Secure the dispenser head and swirl the bottle around to combine the liquids.
- Screw on nitrogen charger, invert the dispenser, and shake well for about 10 seconds.
- Angle the tip against the inside of a glass filled with ice and gently squeeze the lever to dispense.
Coconut Sugar Syrup:
- 1 cup coconut sugar
- 1 cup water
- pinch of Kosher or sea salt
- Place the ingredients in a saucepan and stir to combine.
- Boil the mixture for 2 mins. on medium heat.
- Remove from heat and transfer syrup into a clean glass bottle or jar. Refrigerate for up to 2 weeks.

You must be logged in to post a comment.